

Recycled T-Shirt Bag
Hey everyone! So I went to Aldi the other day and of course I had forgotten my reusable bag. I have been telling myself over and over again to leave a bag in my car so I will always have one when I need it. Instead of grabbing one of the bags at check out, I decided I would just wait and make my own at home! I had seen a DIY T-shirt bag on Pinterest before and knew it would be fun and easy.
Now there is one problem- a lot of these DIYs required a sewing machine and although I try my hand in a lot of different crafts- I have not been able to master that of sewing. So I had to find a no-sew option and I DID! I’ll be sharing it with you today!
Another plus to this DIY- this bag is 100% washable- so if it gets dirty or something spills on it, you can just throw it in the wash like a regular t-shirt.
Today we are going to be taking an old T-Shirt and recycling it into a reusable bag. You can keep this bag in your car for your ALDI runs or carry all your craft supplies! It’s the perfect size for both!
SUPPLIES:
T-Shirt (larger size=larger bag)
Scissors (Fabric works best)
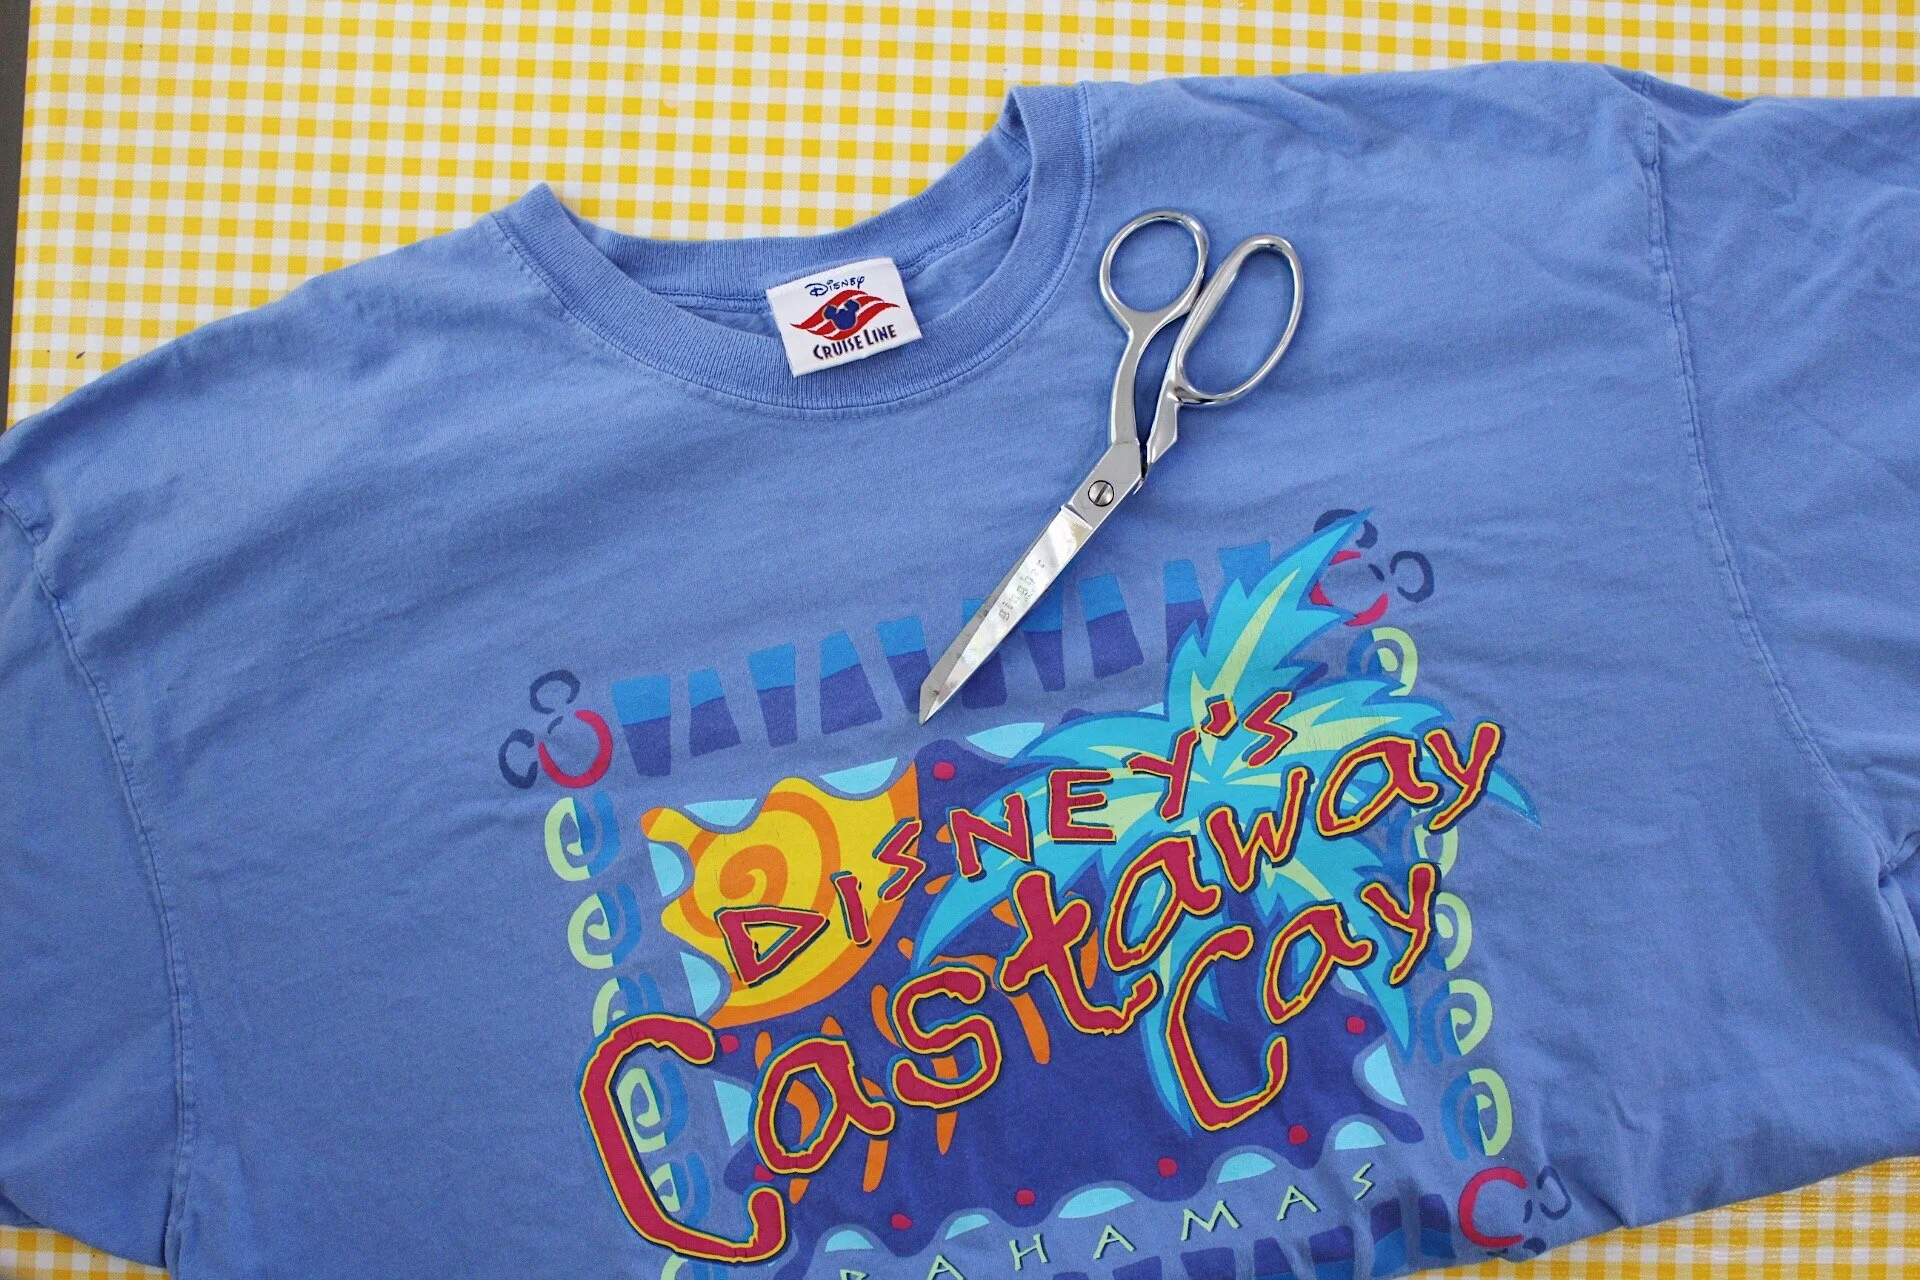
I decided to buy a 2XL t-shirt from the thrift store, so it would be large enough to carry groceries! The bigger the shirt= the bigger the bag!
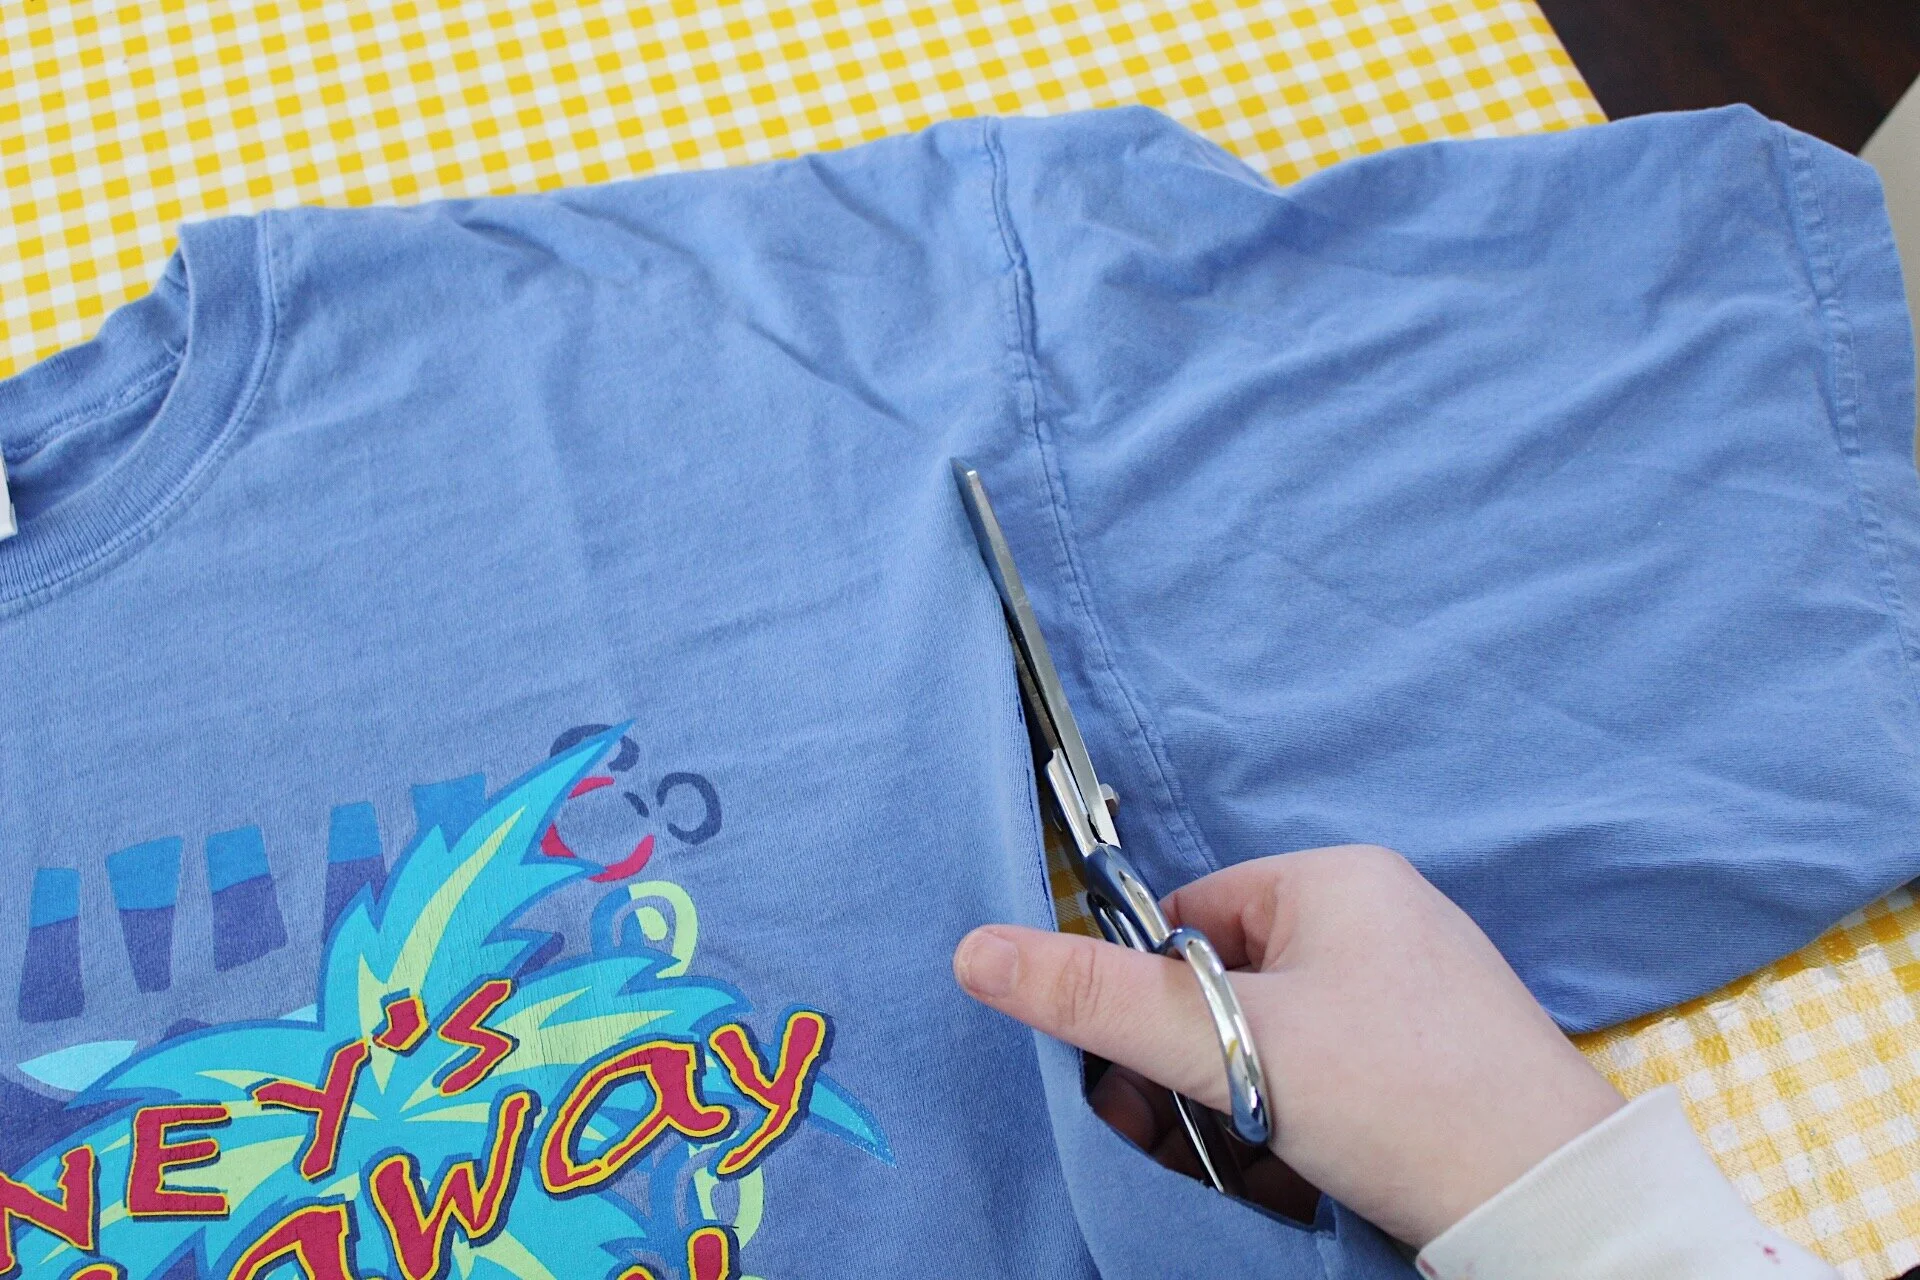
Step 1: Cut the Arms off
If it helps to follow a line, get a magic marker and make a line running about an inch parallel to the sleeve seam.
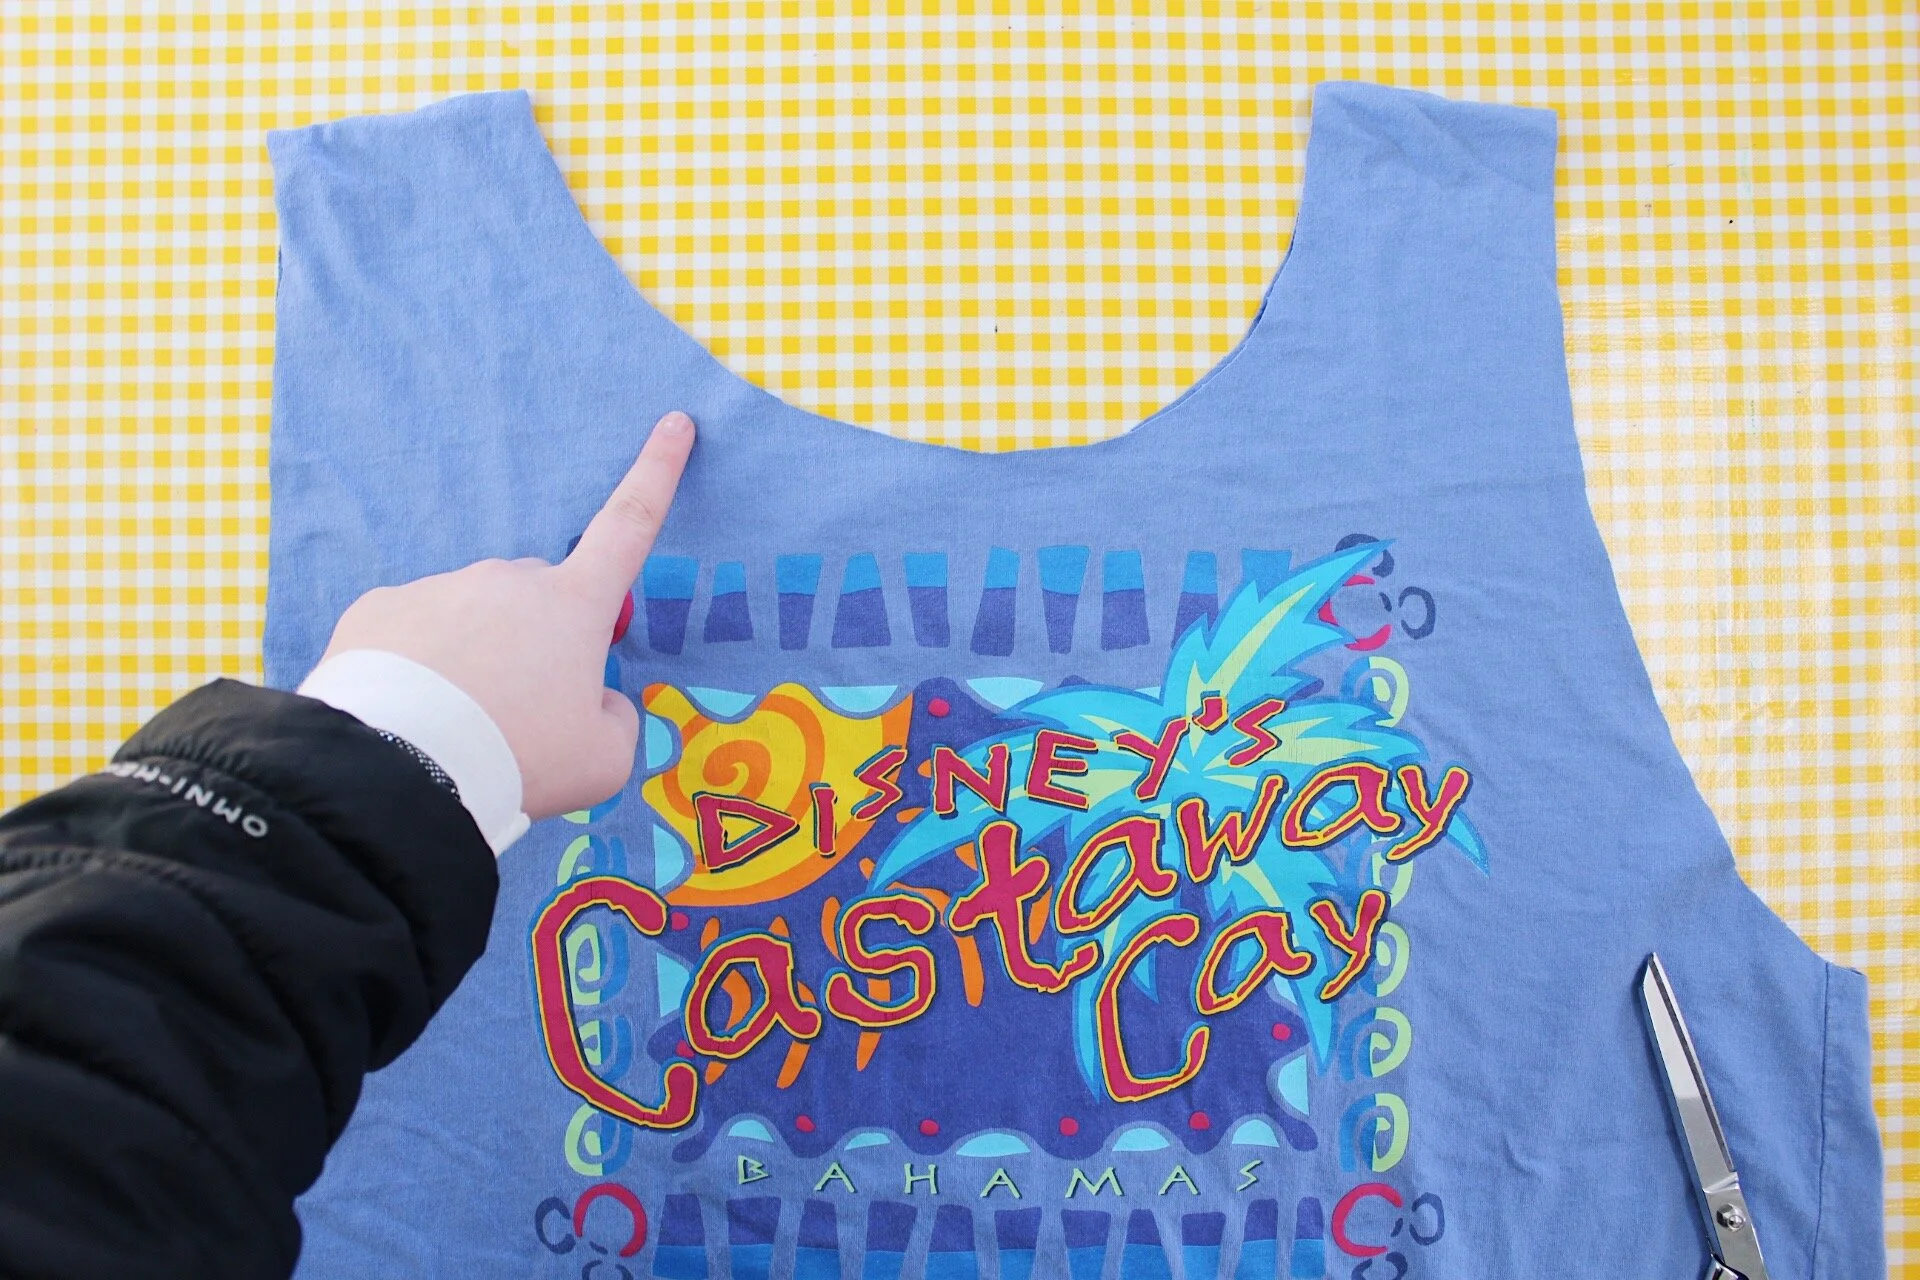
Step 2: Cut the Neck of the T-shirt lower
I freehanded the oval neckline, but again if you prefer to follow a line- you can draw on the shirt with a magic marker. I cut about 2-3 inches down the neckline for the opening of the bag.
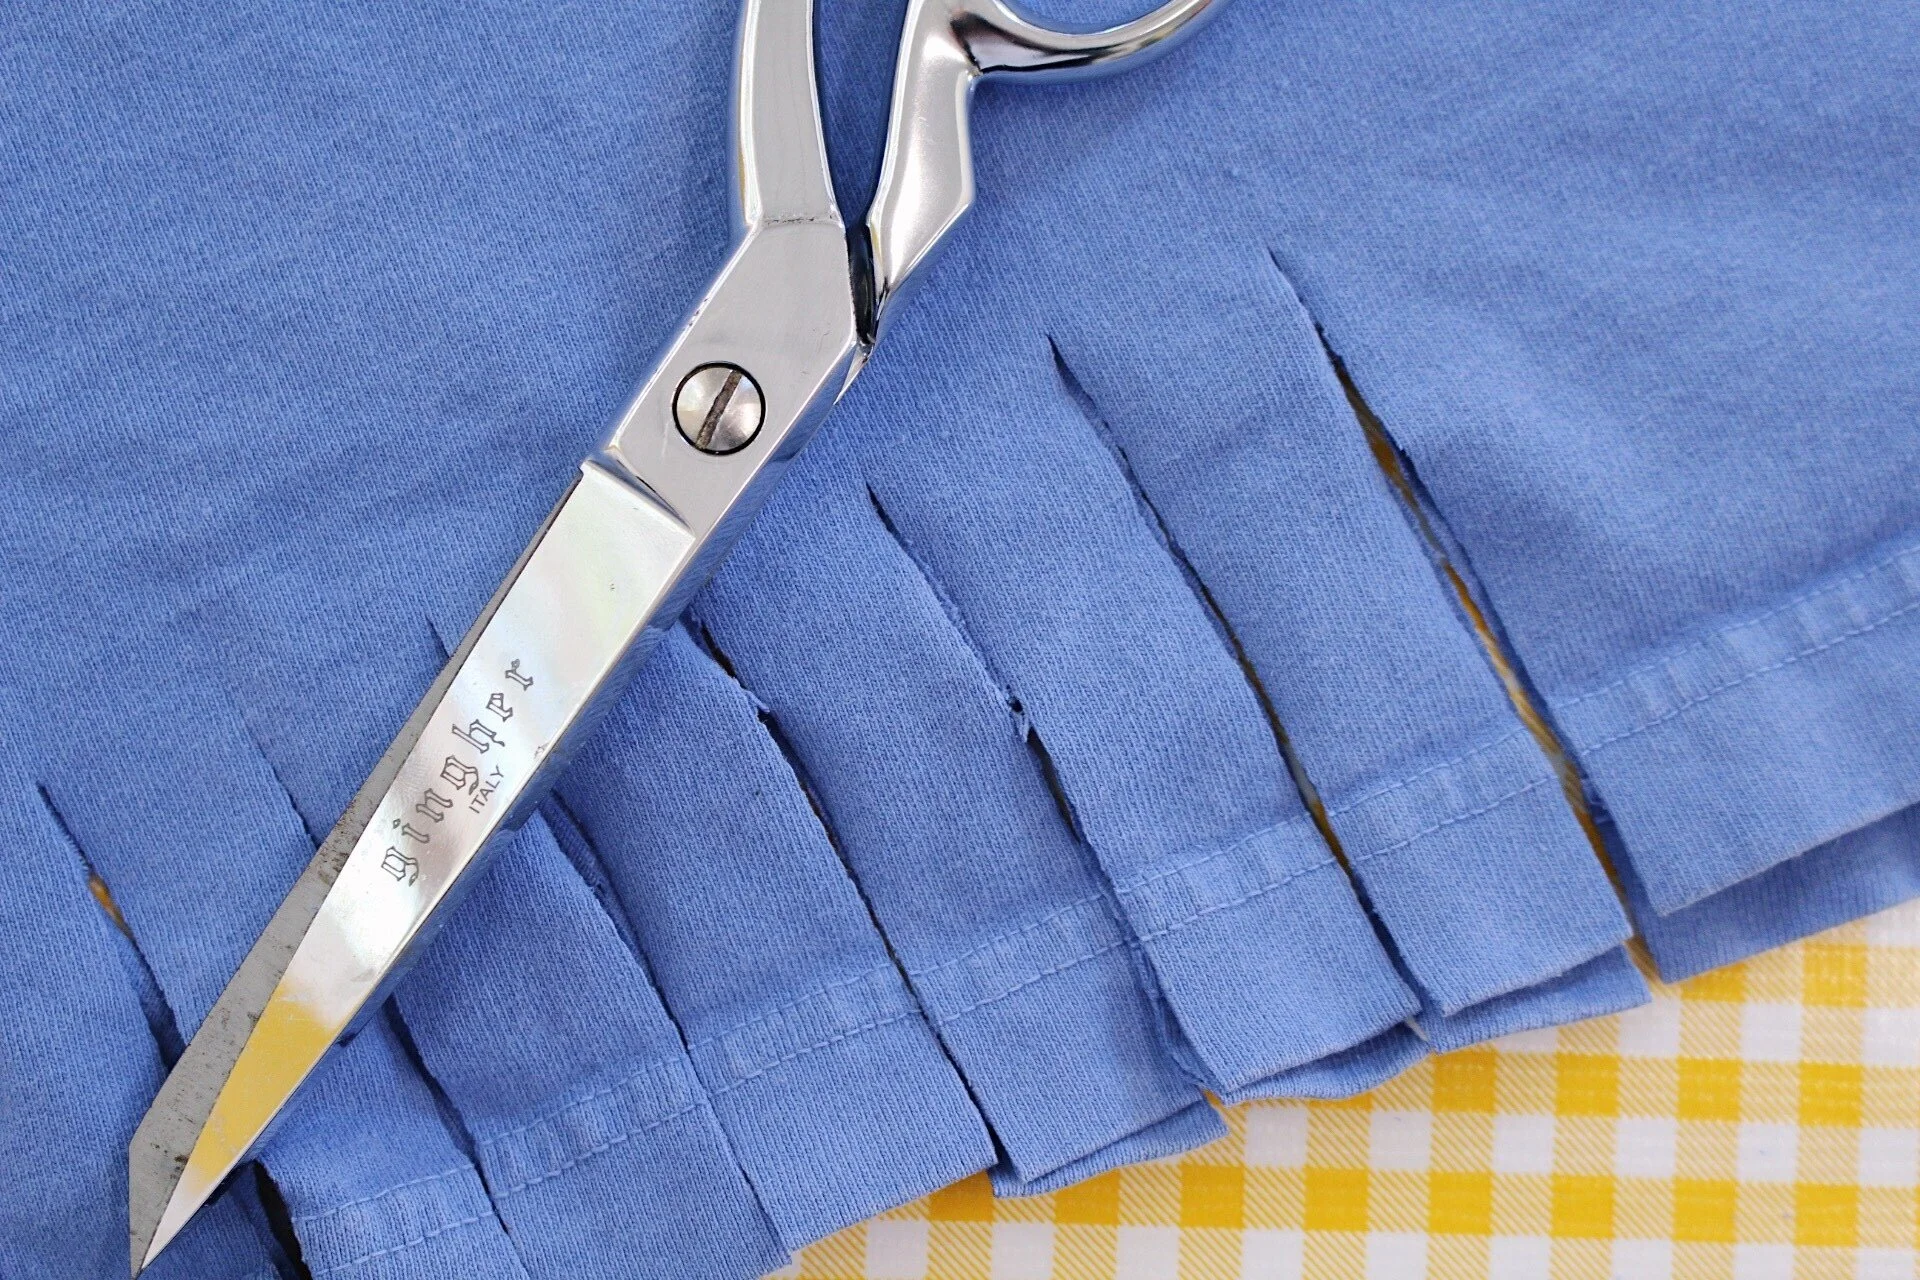
Step 3: Cut Slits on bottom of Shirt
Now grab your scissors and cut slits from the bottom of the shirt up about 2.5-3 inches long and about an inch wide. You’ll want to cut both the front and back layers together because they need to match up for the next step.
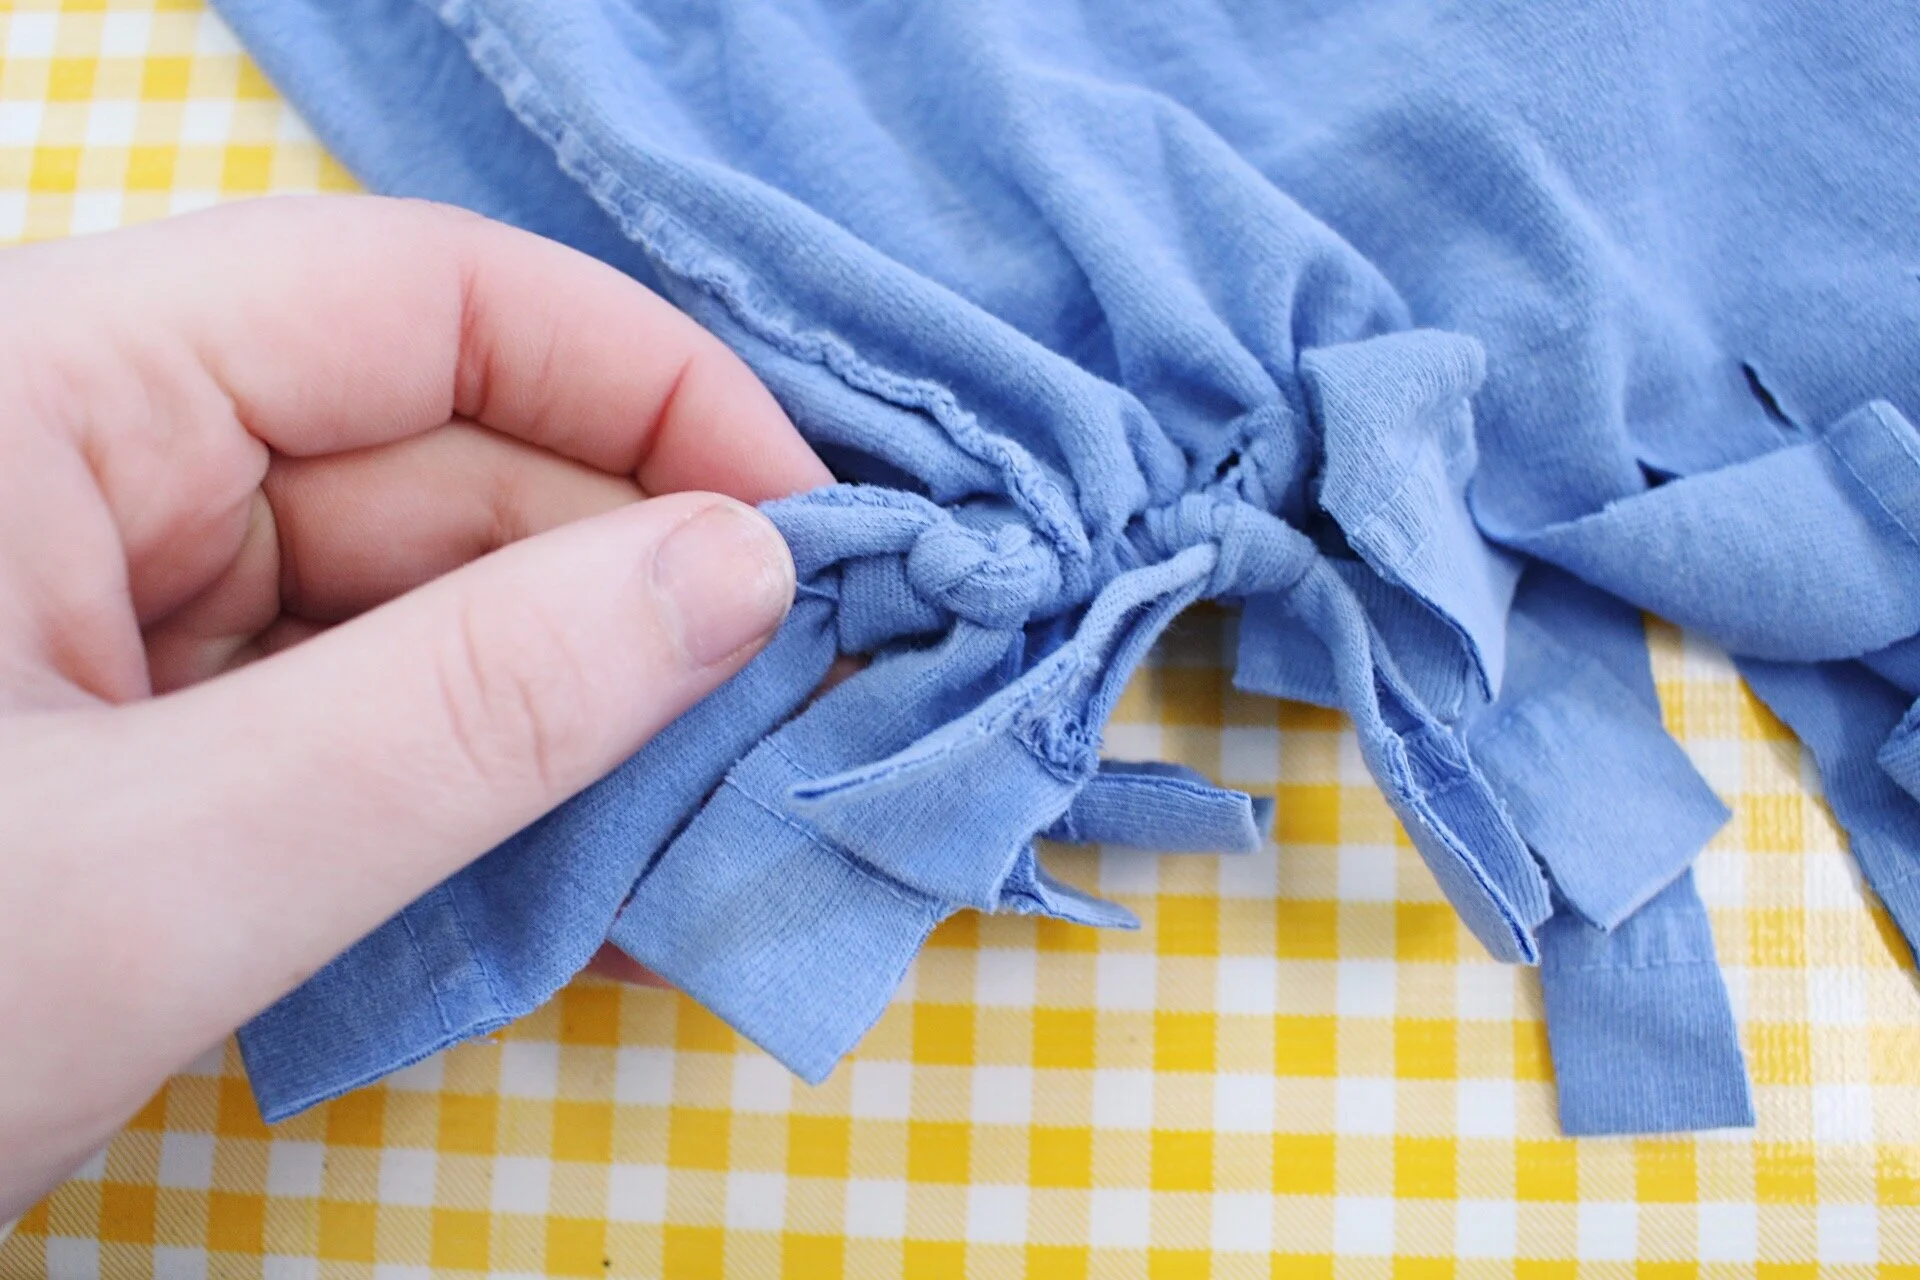
Step 4: Tie fringe pieces together
Grab your shirt and turn it inside out and lay it so both layers match up. You will begin tying the front & back pieces together and double knotting them! You will do this all the way across the bottom of the shirt. Make sure you pull them tight to close any gaps between fringes!
Go ahead and grab your shirt and turn it back right side out and VOILA! You have now successfully created a recycled t-shirt bag! Give yourself a round of applause! I hope you all had a fun time with this simple DIY. This is a fun afternoon activity with kids or a quick DIY with friends. If you try it out, let me know by commenting below or sharing a photo on social media and tagging us in it. We’d love to see your new bag!